

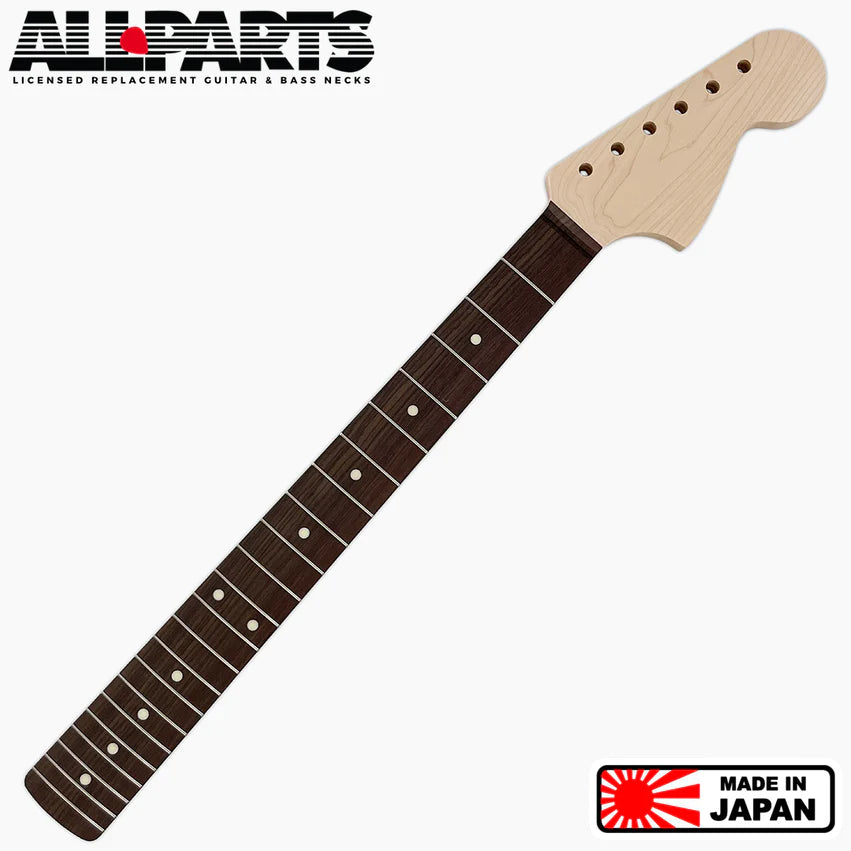


For many years I used a Roland GK-2/GK-3. The decision to try the Graphtech Ghost system was based upon:
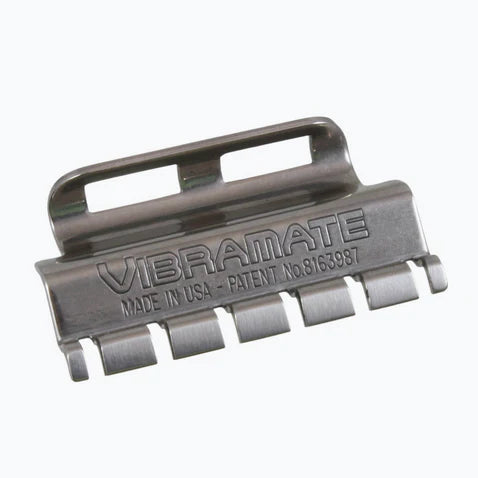
- The Roland divided pickup/controller looks ugly, whereas the Ghost saddles appear no different to standard bridge saddles; most of the electronics are hidden, the control knobs/switches can be positioned alongside the existing magnetic pickup controls and the 13-pin output can be routed into the side of the guitar body and positioned next to the jack-output (if that is your preference).
- One can incorporate an acoustic preamp (“Acousti-Phonic”) with separate output - achieved by converting the standard mono ¼” jack output to stereo.
Hondo II Piezo/Hexpander Installation (without selector or programme up/down switch)
Having never installed the Graphtech piezo saddles/electronics before (or used them in anger for that matter), I thought it best to do a trial run with just the simpler Ghost saddles/Hexpander combo and acquired a cheap Hondo II Professional (covered in white paint, missing a couple of tuners and with non-functioning electrics, amongst other faults!) for the purpose (check out the state of the ferrules!).

Unbeknown to me at the time, the Hondo (model no. H-1010 I think: https://samick.fandom.com/wiki/H-1010 ) turned out to be a very nice guitar, being a Matsumoku made instrument from the 80s.
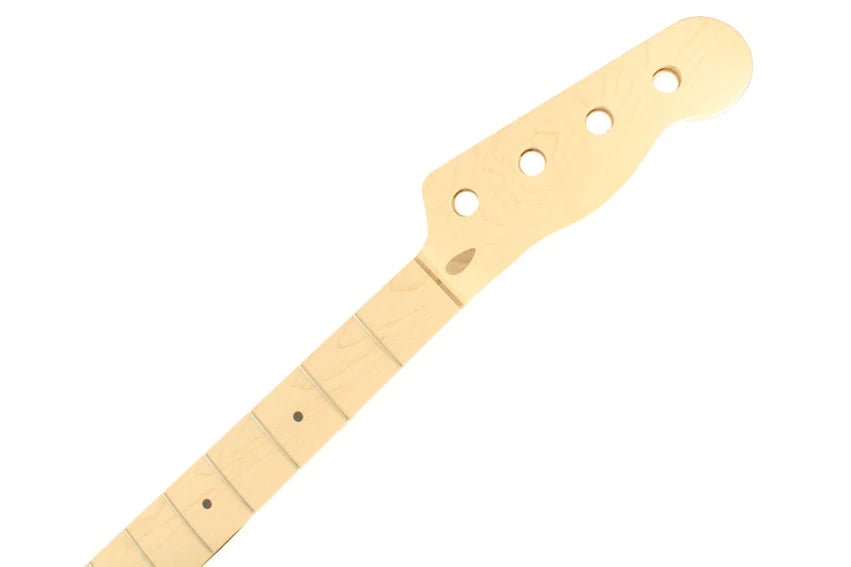
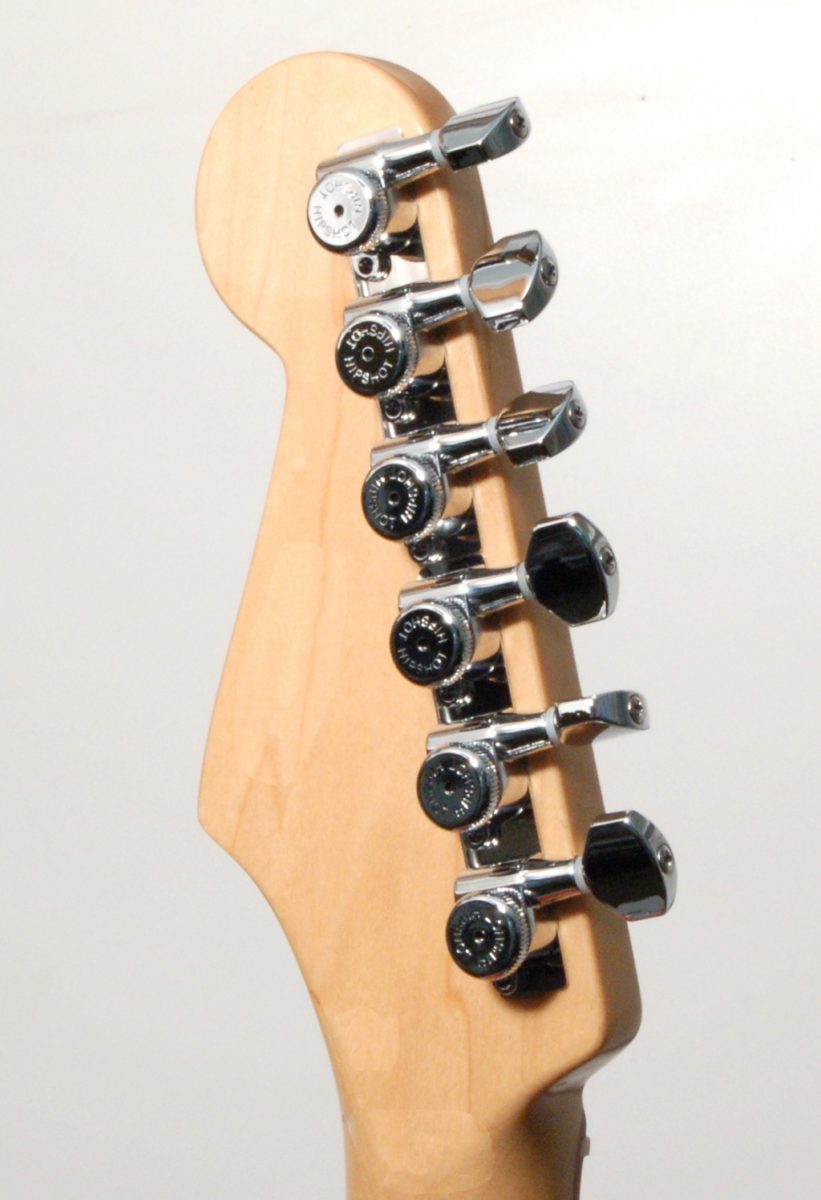
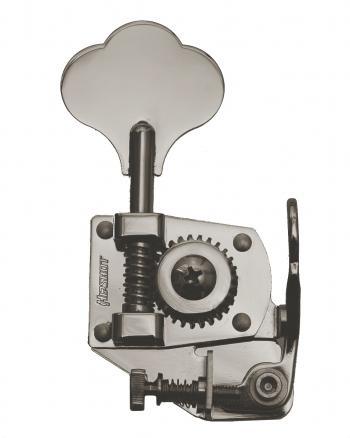
I started with a thorough spring-clean and then stripped-out the old wiring and renewed the tuners.

Next, after detaching the neck (interesting and very stable attachment mechanism by the way), I got to work on the body.
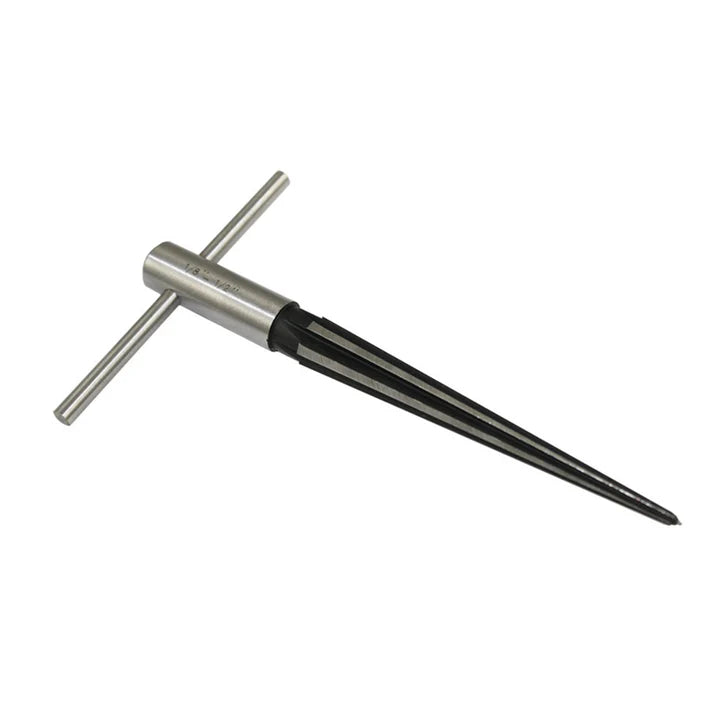
I thought I’d start by installing a Grainger ferrule block (very sexy!) – had a couple of trial runs with the routing template on some scrap wood before attacking the guitar itself.

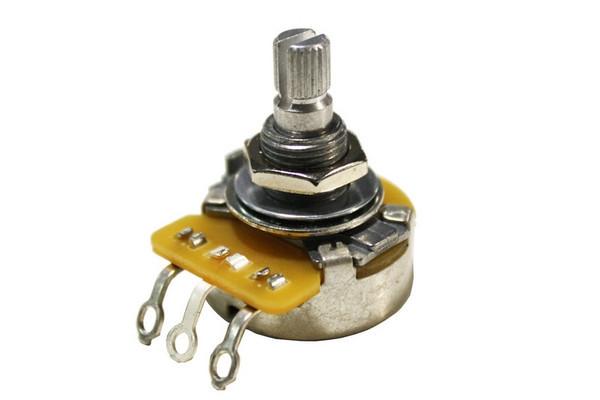
Next up, the additional hole in the main wiring cavity for the Hexpander volume control.

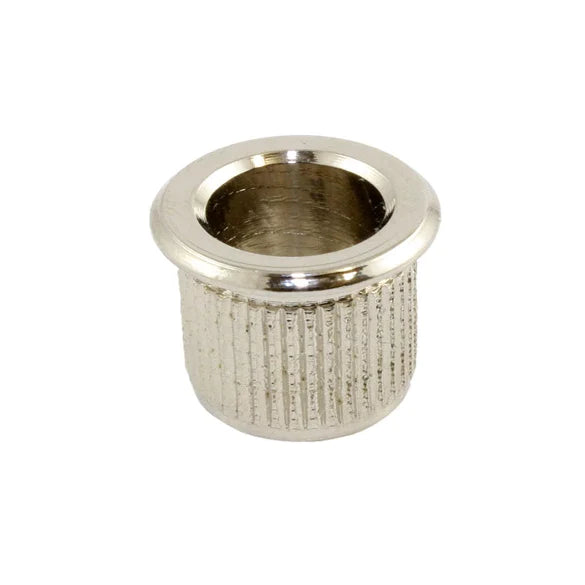
And then routing the opening for the 13-pin socket. Note that the bezel either side of the socket is flat and cannot be bent, so with this install, i needed to machine a “flat” either side of the opening (not shown).


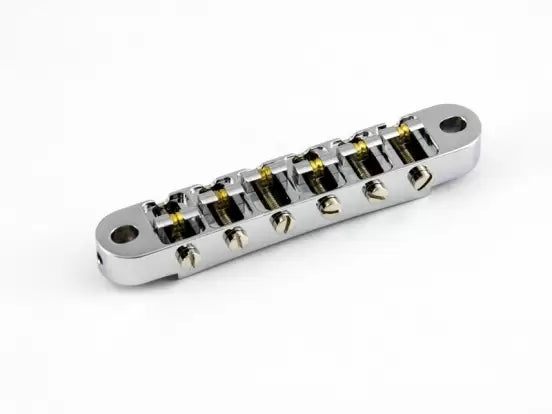
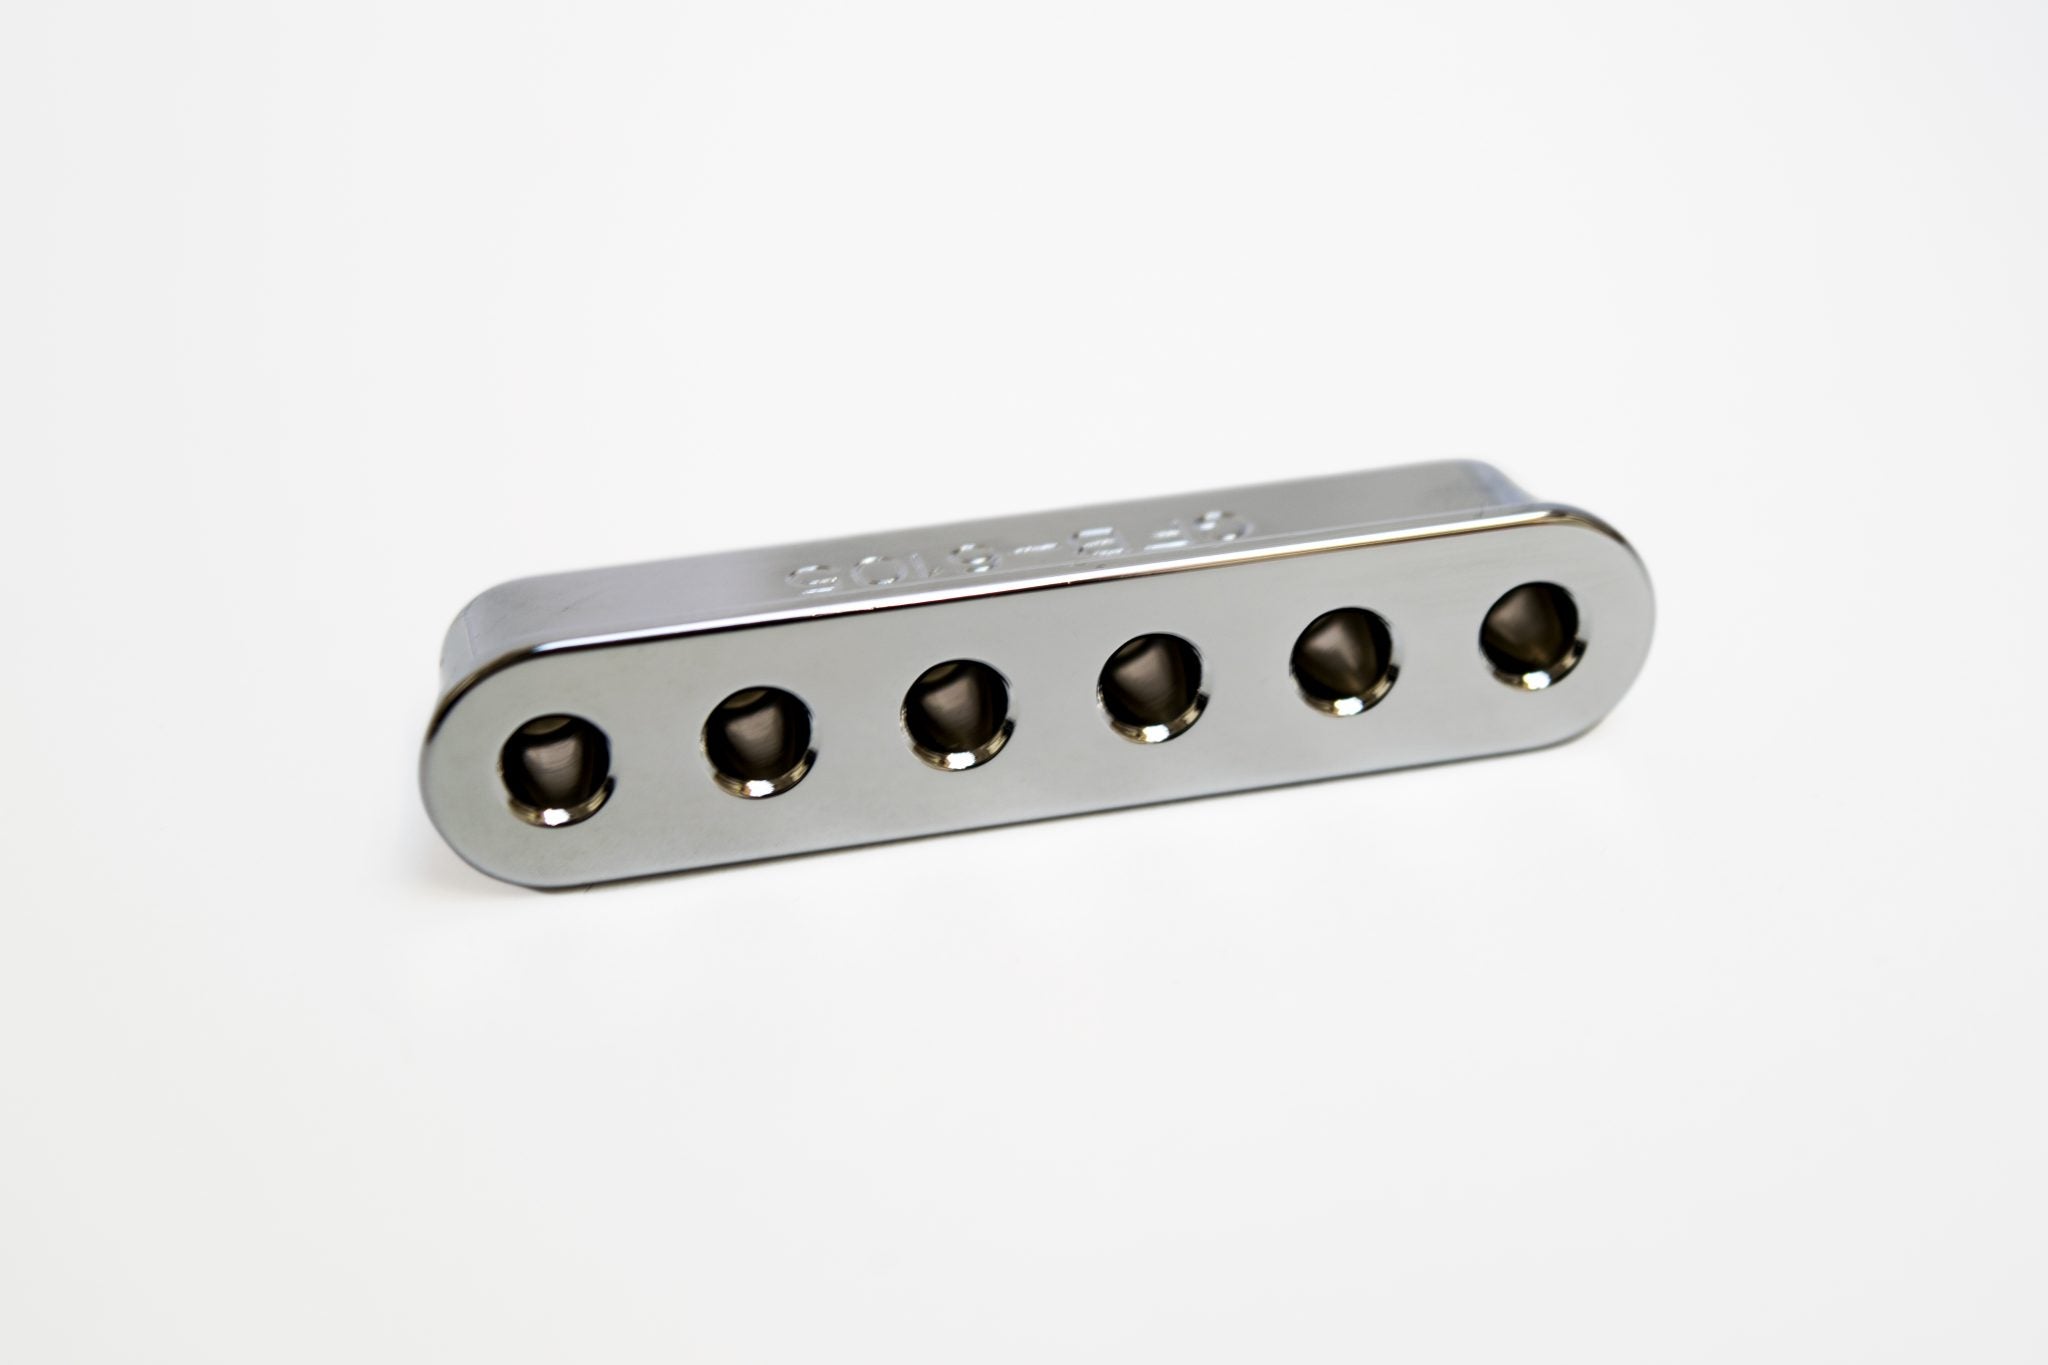
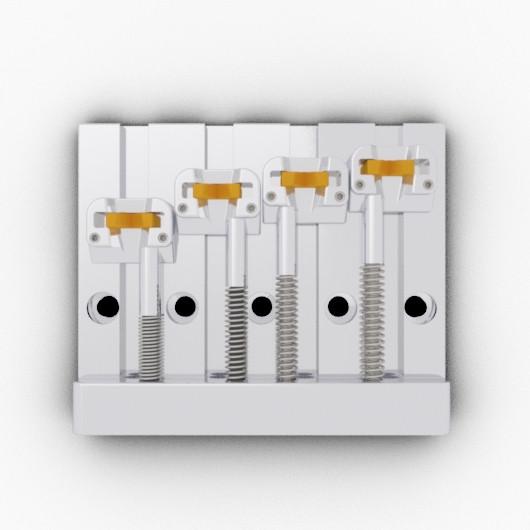
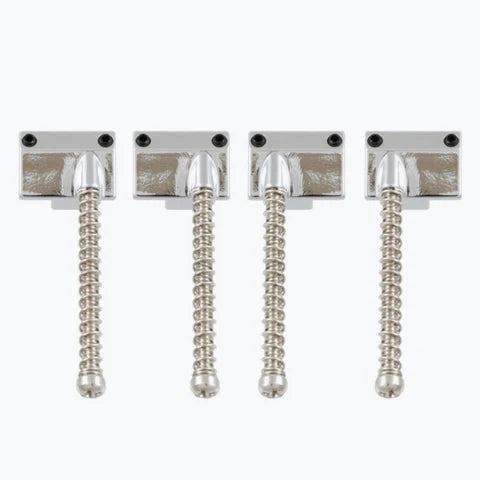
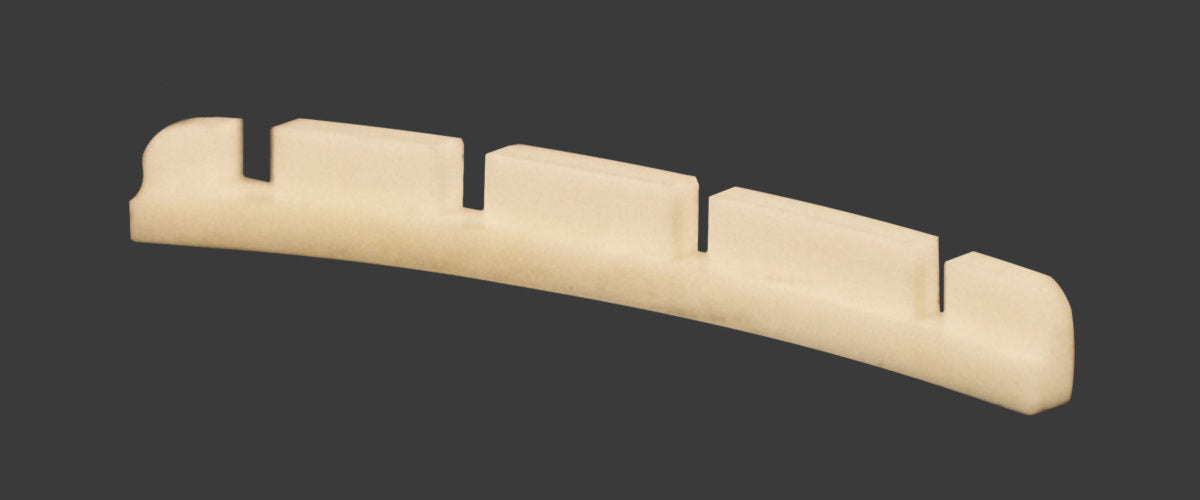
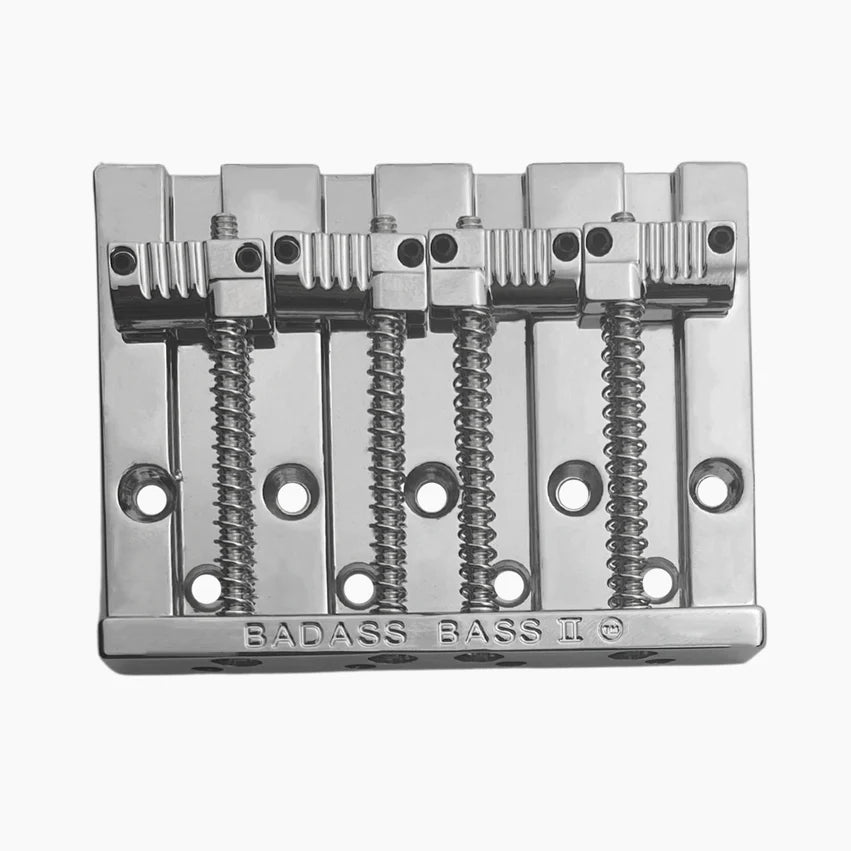
After installing a new bridge earth wire, I attached the original bridge, followed by the new piezo saddles.


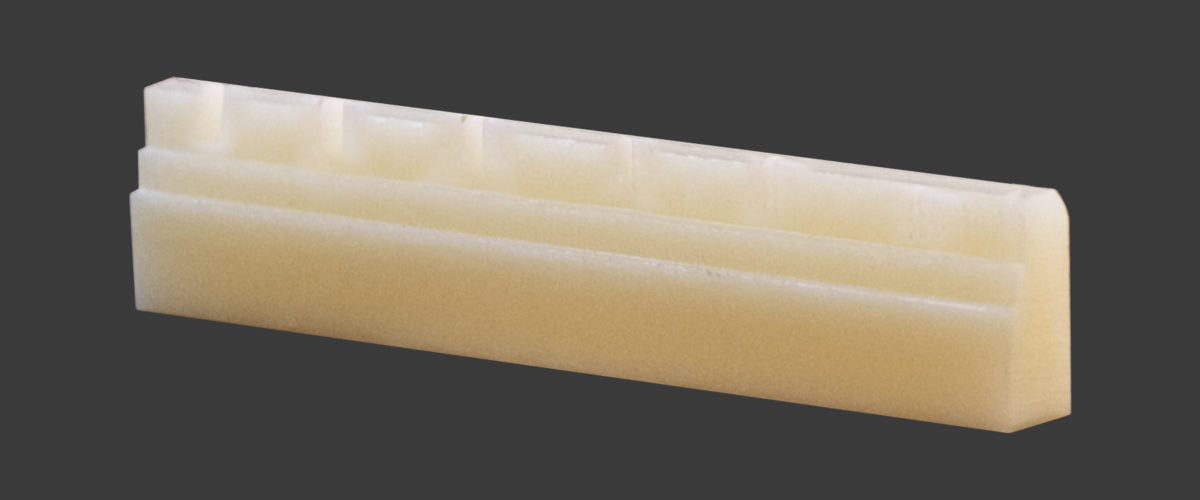
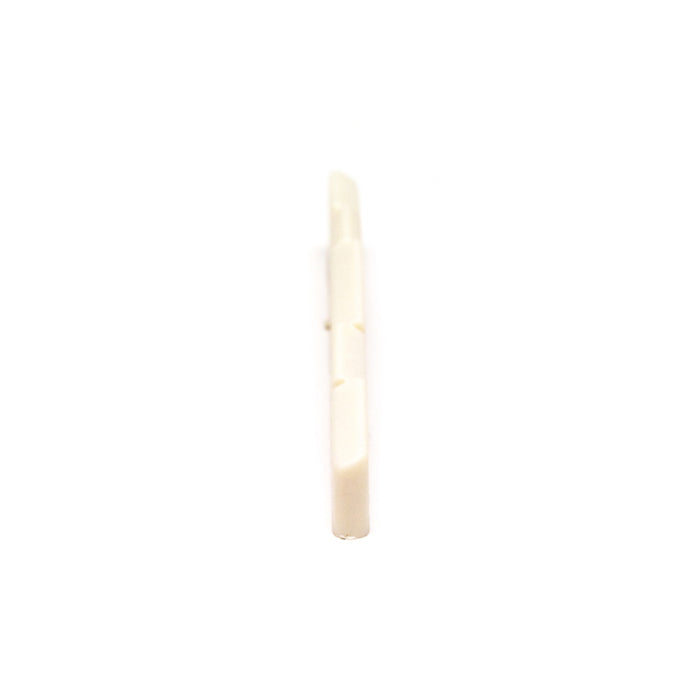
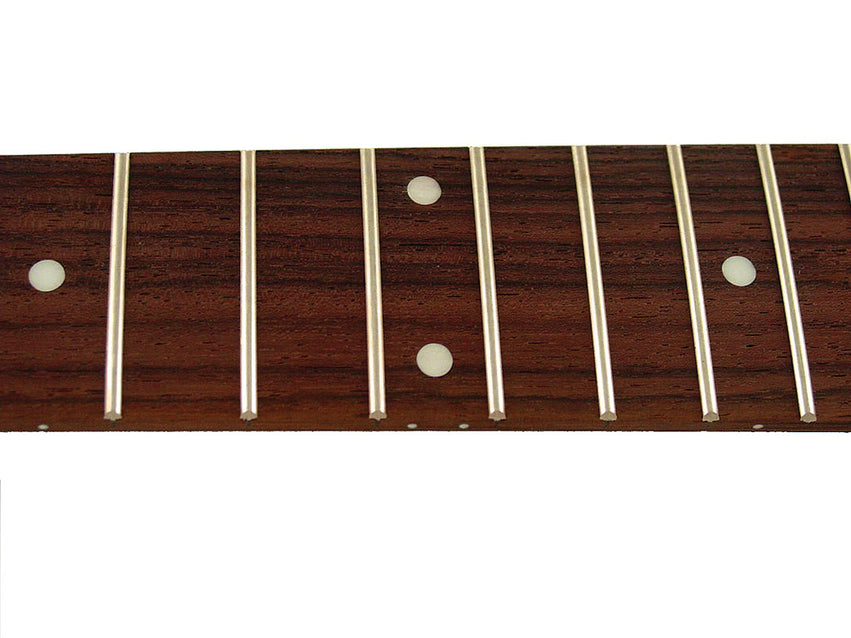
One of the issues with the piezo saddles is that they are super sensitive. This means that if they are contacting each other, there will be signal bleed between them. Where one is using the pre-drilled intonation-screw holes from an existing bridge, there is no option, that I can see, other than to sand-down the saddle sides if they are touching (fortunately, they’re made of graphite).

Thereafter, it’s the pathway for the piezo connecting wires to reach the wiring cavity.

For this install, the bridge did not need modification. Likewise, the existing hole for the magnetic pickup wires between the pickup and wiring cavities was of sufficient diameter to take both those and the piezo wires (just!). Furthermore, there was enough space in the pickup cavity between the bridge side of the bridge pickup and the body itself. As a result, it was just a case of cutting-out a small notch in the bridge side of the bridge pickup surround to accommodate (not shown).

Now, just the “simple” job of installing the 13-pin socket and stuffing the pre-amp in!


Re-fit the ordinary pickups et voila!

Aria CS-350 Piezo/Acousti-Phonic/Hexpander Installation
In essence, this is “just” the same as the Hondo install but with the addition of:
- A volume for the Acousti-Phonic preamp (the pot itself also has a push/pull “dark” tone function).
- Selector switches (two of) for Mag pickups/Acousti-Phonic/Hexpander.
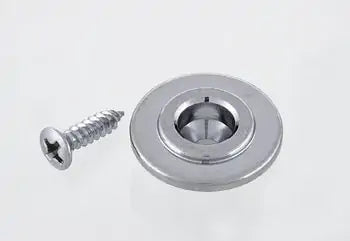
- A battery box (to provide power for the acoustic function).
- Programme up/down switch (I routed a hole for this during the install, but, upon final fit-up, had insufficient room in the main wiring cavity to keep it, so one of the mini volume control knobs that you see in the pictures is a “dummy”).
- An additional “piggy-backed” circuit board.
- Associated wiring.
The virginal guitar.

With saddles removed.

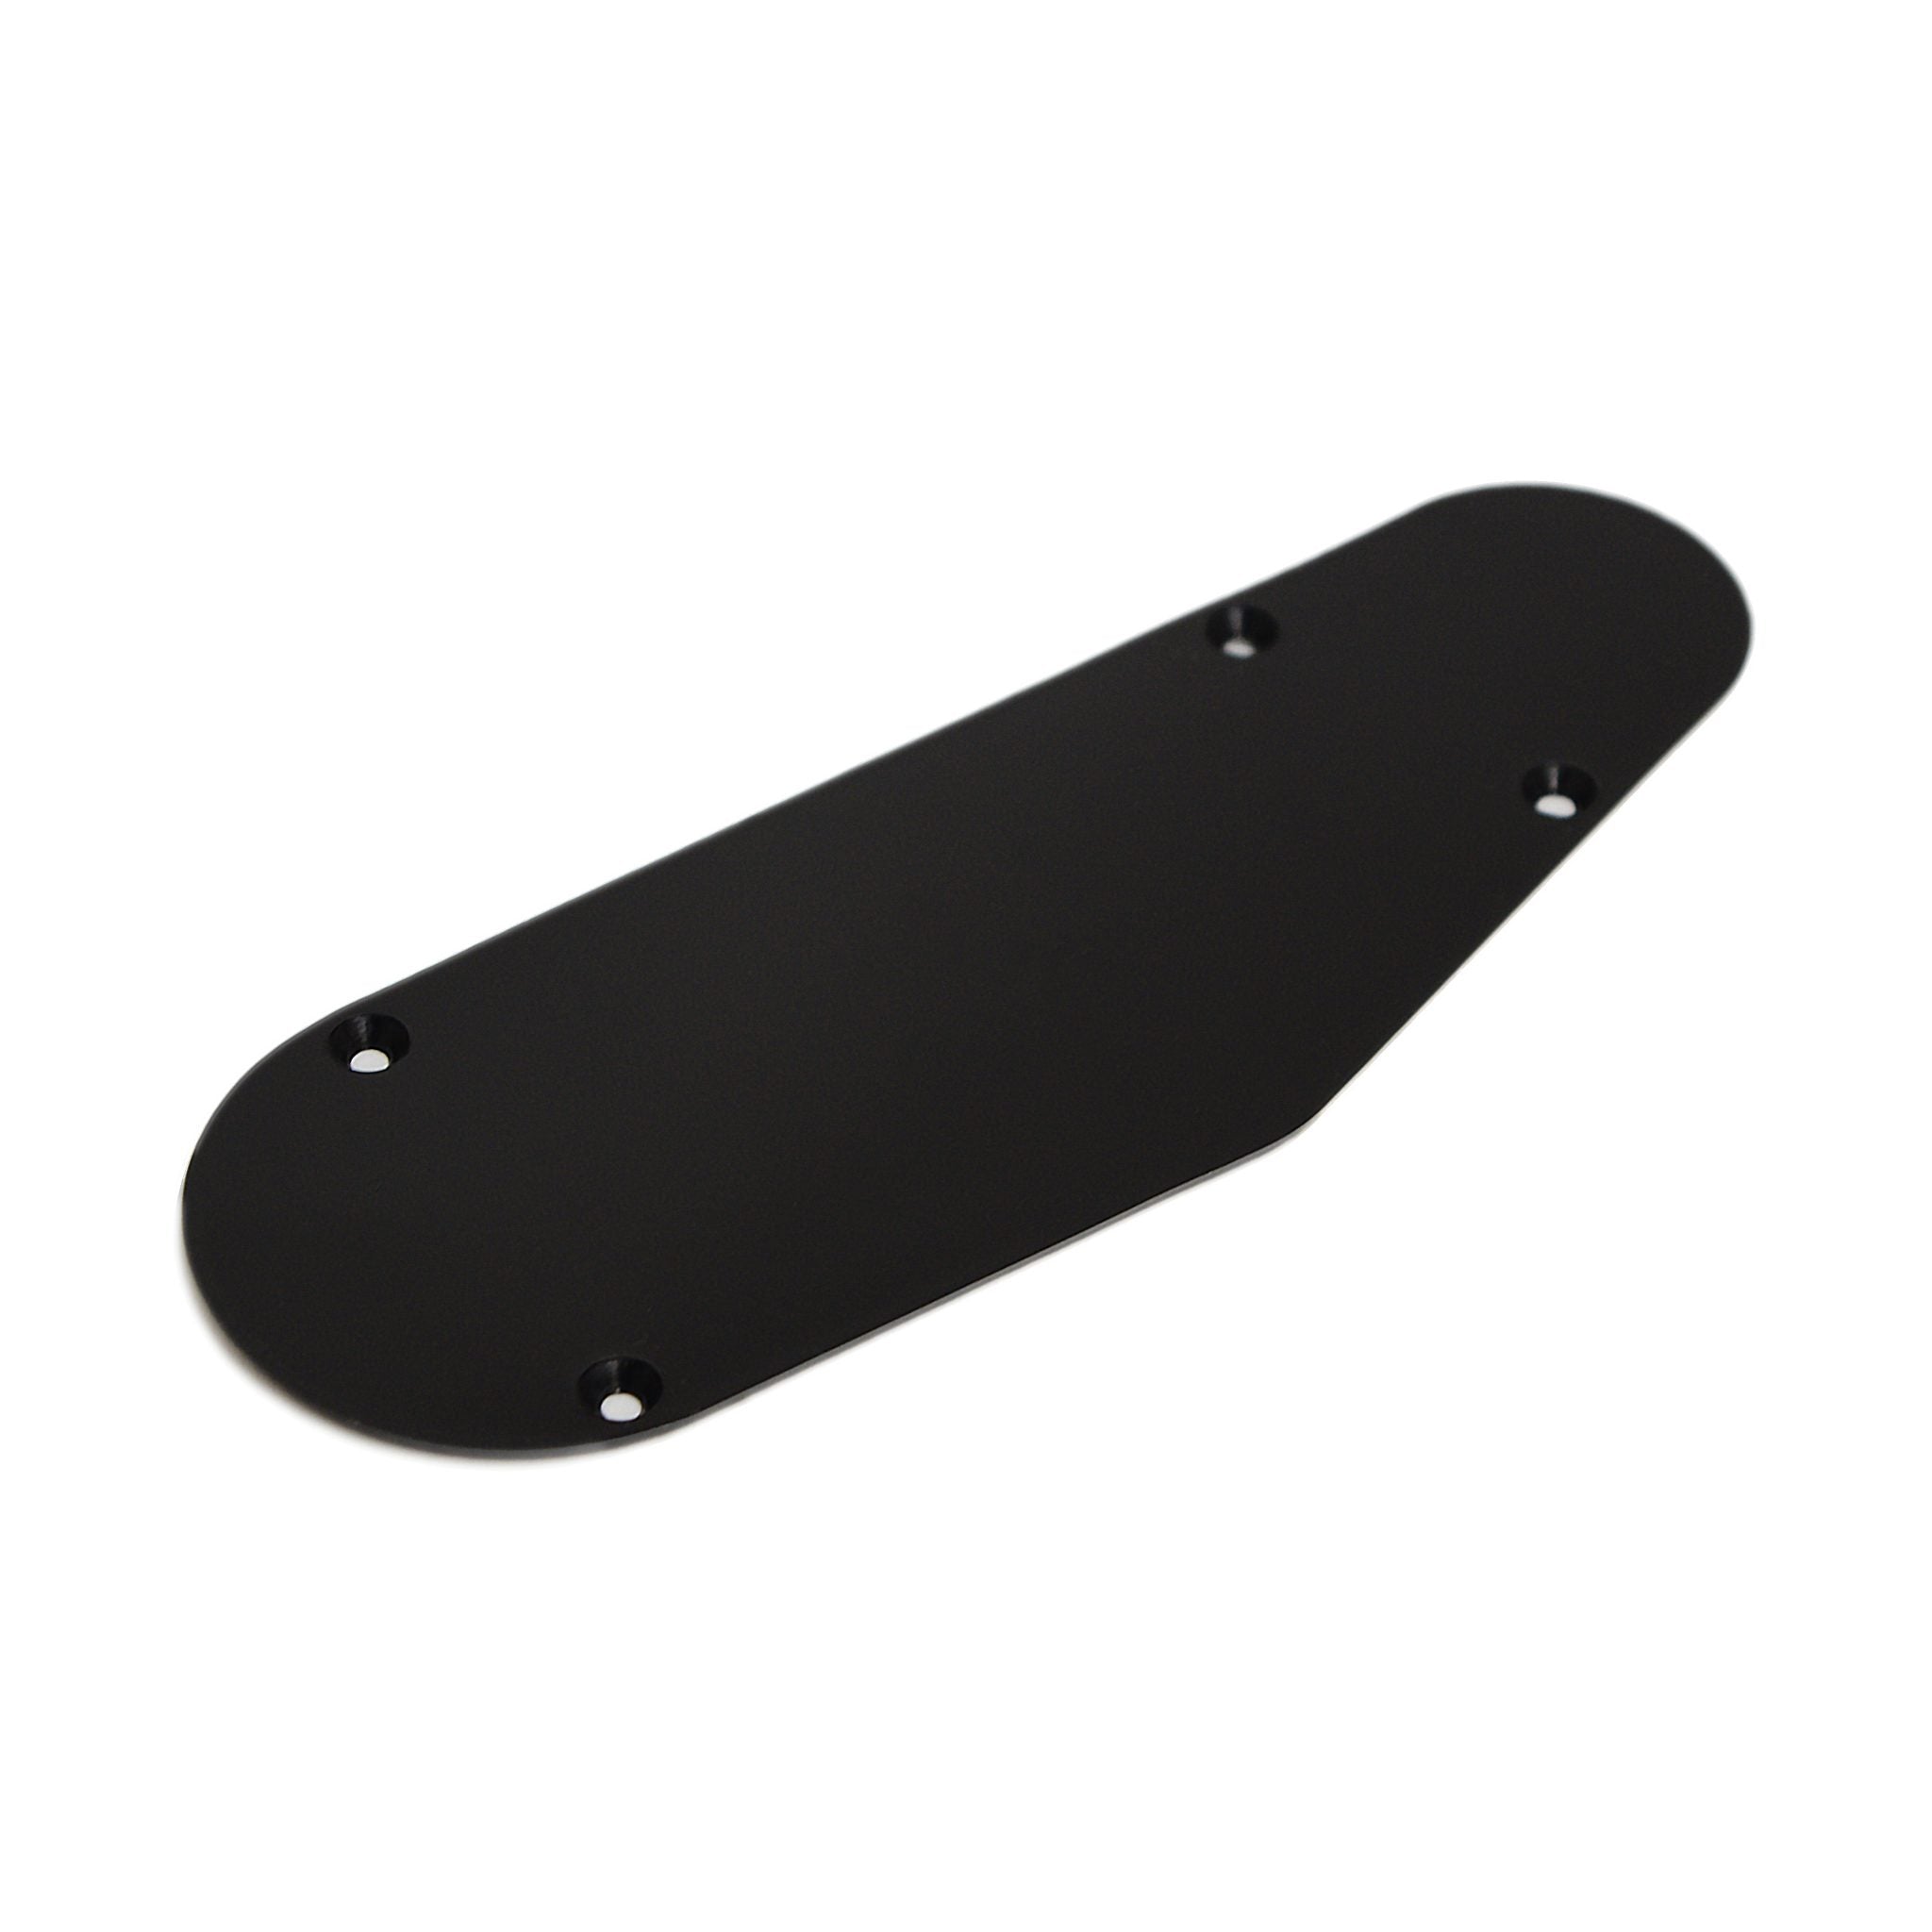
Rout the 13-pin socket housing, battery box and drill access hole between battery box and main wiring cavity.


Install new battery housing (swanky!).

Lay out the components.

Locate them.

Still a lot of bits needing a home.

Final fitment (see blanked-off hole mentioned previously).

Finished (well, the underside at least).

As you’ll see in the following pictures:
- The problem with the old saddles is that they are roughly twice the height of the incoming piezo equipped versions, such that I needed to machine and install a bridge riser plate.
- The problem with the old “ashtray” bridge is that there’s no appropriate egress for the saddle wires, so I needed to machine an opening of sufficient size to permit the wires and their connectors to pass through.


Installation complete.